
Service - ECU File XML Export
The data of any number of ECU files can be exported to Excel using the ECU-File XML Export. The export does not take place directly in Excel but in an XML file that is linked to an Excel sheet as a data source. This technology allows a finished Excel analysis to be provided with new ECU file data.
Valid platforms:
- DIWA.3 via E200
- DIWA.3 via E310
- DIWA.5
- DIWA.6 via KWP
- DIWA.6 via UDS
- DIWAhybrid E300.1
How to open the ECU File XML Export
The ECU File XML Export is accessed via the Service group in the main window. Then select the "ECU File XML Export" button in the Developer and Special Functions category in the Service menu.


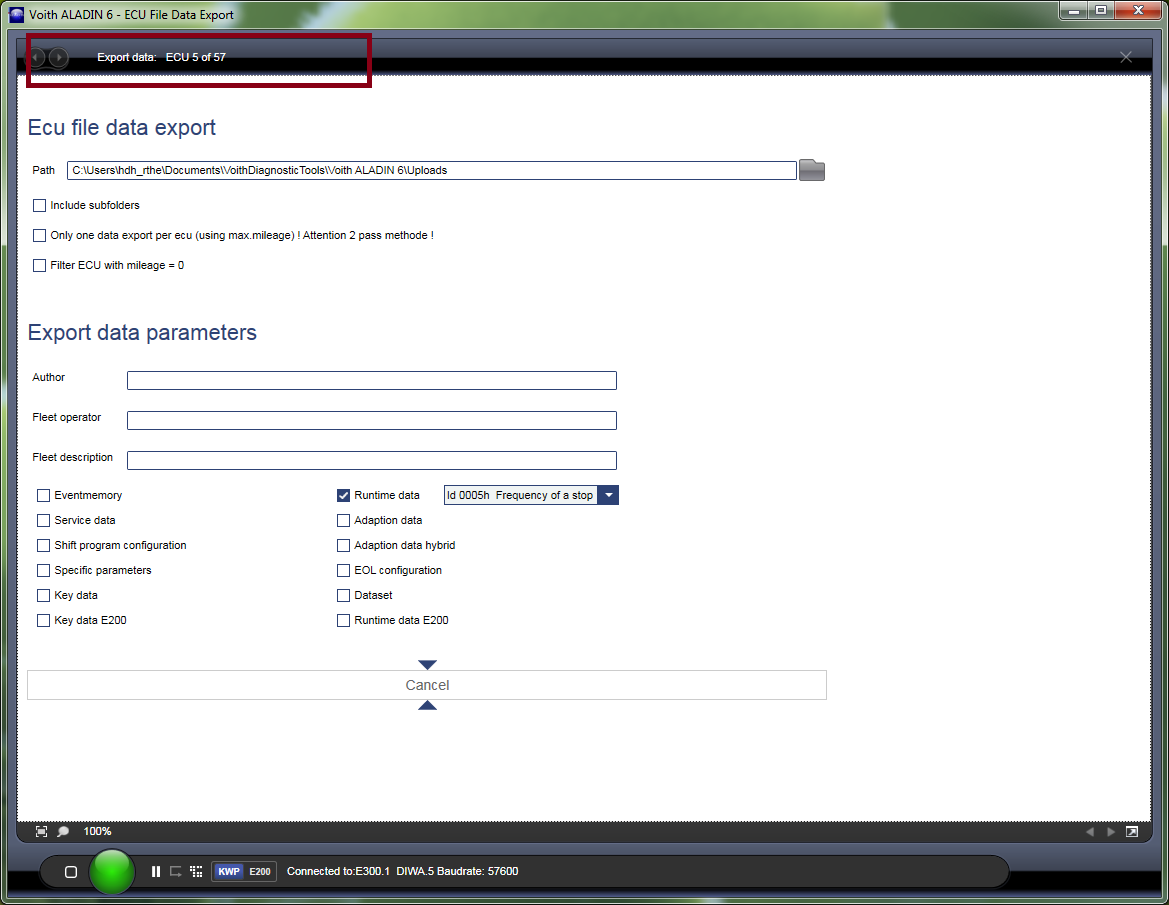
Data export from a directory
First select a folder in which the ECU files are located.
The subsequent 3 checkboxes decide whether sub-directories will also be searched for ECU files, vehicles with a "0" kilometers/mileage will be filtered and whether only one ECU file will be exported per vehicle.
In this case, only the ECU file that has the most operating hours is exported from an ECU serial number. This filter needs two passes and therefore some more time.

Select the data to be exported from the ECU file. Activate the individual data using the corresponding checkboxes. In the case of the operating data, you can also decide whether you want to export all operating data or only individual operating data fields.

To finish, click "Export". The progress of the export is displayed in the header
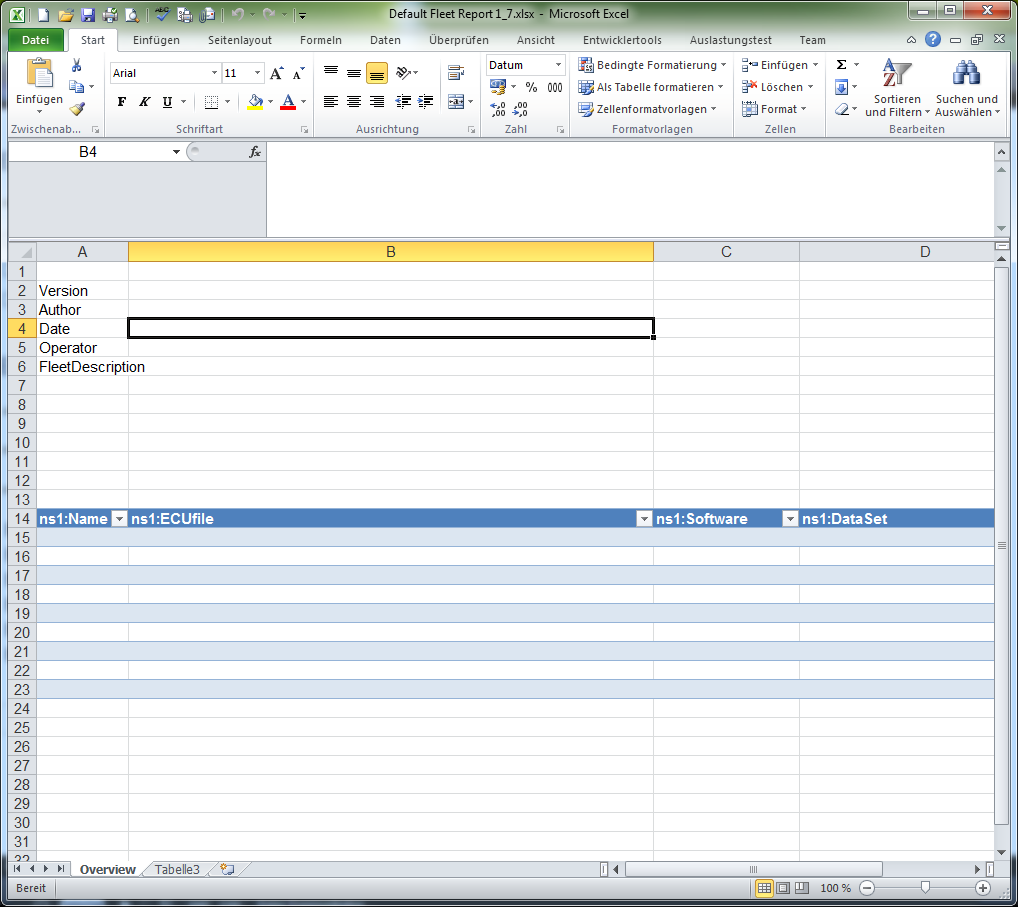
When the export is complete, ALADIN automatically opens an Excel sheet. The data link to the XML file is already configured on this sheet.
Using the XML data in Excel
The data are always exported to the file:
C:\Users\user_name\VoithDiagnosticTools\Voith ALADIN 6\OfficeExports\Fleet\ServiceFleetData.xml
The associated Excel sheet is in the same directory:
C:\Users\user_name\VoithDiagnosticTools\Voith ALADIN 6\OfficeExports\Fleet\Default Fleet Report x_x.xml
You can rename the Excel sheet and copy it to a different location. This does not apply to the XML file. In order to read the data from the XML file in Excel, the file name is stored in Excel. If you want to rename the XML file or copy it to a different location, you must also make these changes in Excel.
When the Excel sheet is opened for the first time, no data are imported. If you want to update the data, click the "Data - Update all" button.
This fills all created fields with the data from the XML file.
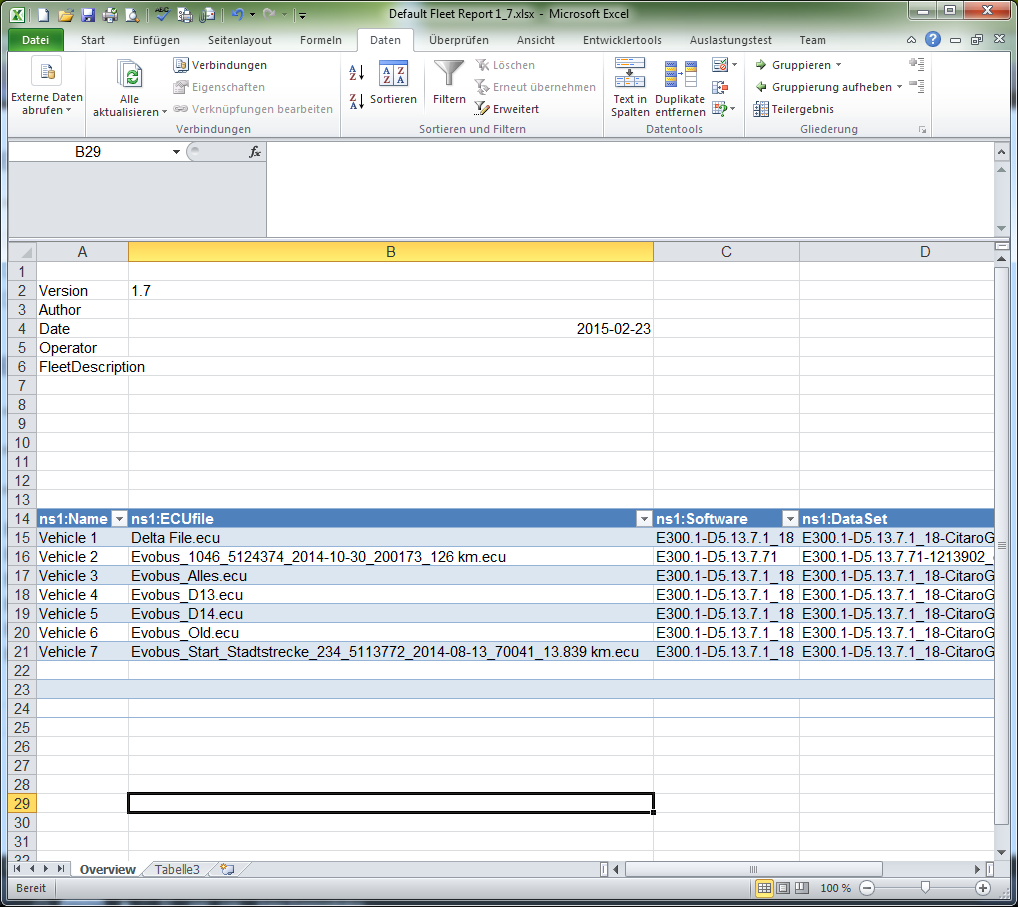
Only a few columns are created on the default sheet. You can create new columns for ECU data at any time. To do so, the XML source function on the Excel "Developer tools" tab is required. If this is not displayed, it must be activated in the Excel options.
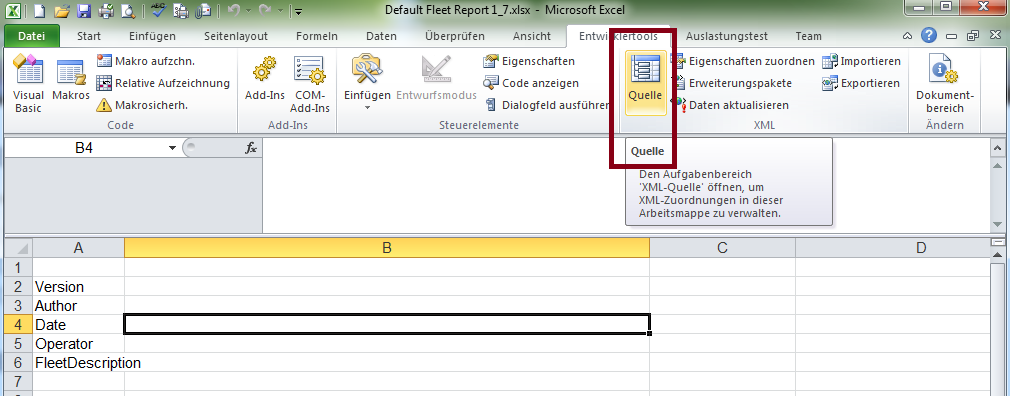
Clicking the "Source" button opens the "XML source" dialog.
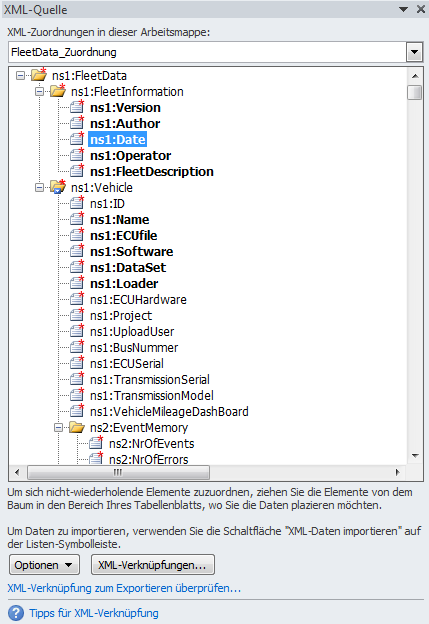
In this dialog you can drag the required contents into the spreadsheet with the mouse. When you have created all the required columns, fill them again using the "Data - Update" button.
If you need to rename the XML file or move it to a different location, the data source must also be matched in Excel. To do so, press the "Data - Links" button in Excel

The Workbook links dialog opens. Mark the "ServiceFleetData" link and press the "Properties" button.


In the Link properties dialog, activate the "Definition" tab and navigate to the storage location for the new XML file using the "Browse" button.