
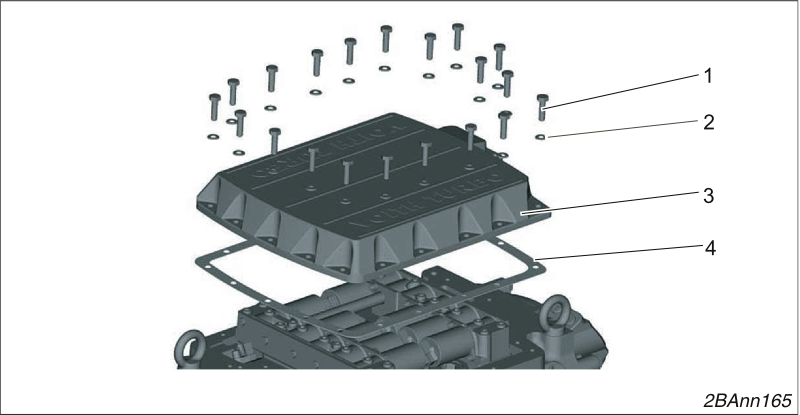
Removing the one-piece control block cover
Loosen 20 screws (1) and remove them with their washers (2).
Remove the cover (3).
Remove the seal (4).
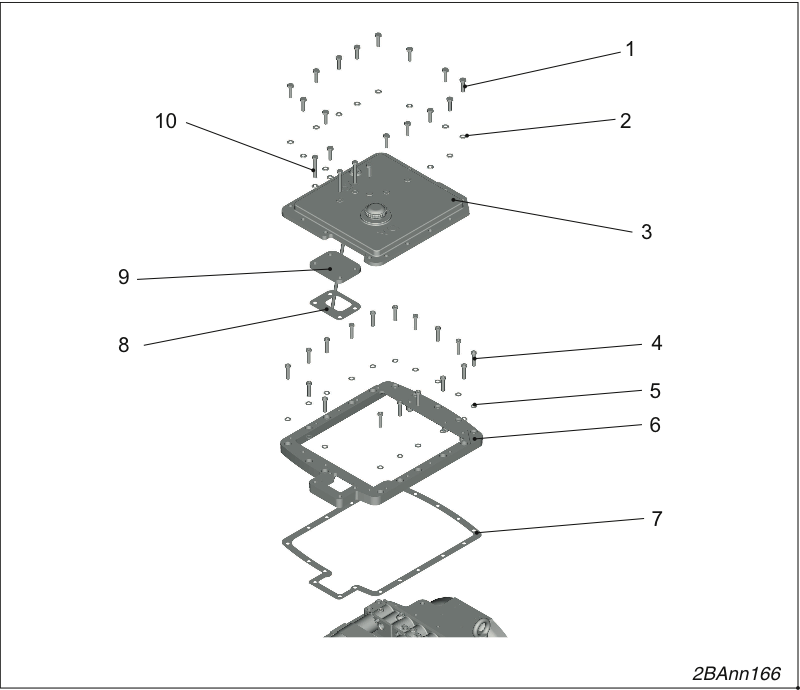
Remove the two-piece control block cover.
Loosen 13 screws (1) and remove them with their washers (2).
Remove the cover (3).
Remove the cover (9).
Remove the seal (8).
Loosen 13 screws (4) and remove them with their washers (5).
Remove the frame (6).
Remove the seal (7).
Installing the control block cover
Insert the new seal (4).
The seal must be free of grease when you install it.
Screw the control block cover (3) tight using 20 hexagon bolts M8 x 30 - 8.8 (1) and washers B 8.4 (2).
Tightening torque 23 Nm.
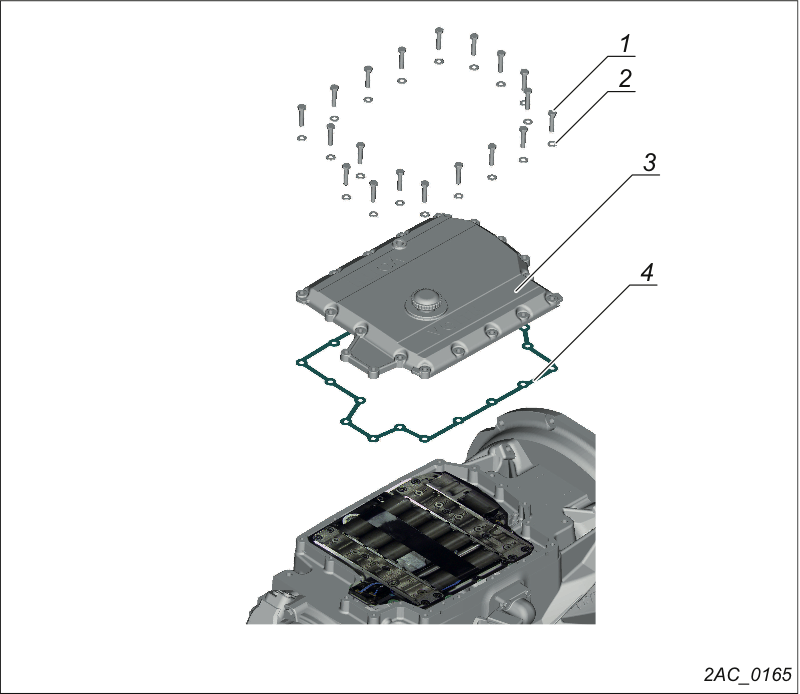
Removing the control block cover
Loosen 20 bolts (1) and remove them with 20 washers (2).
Remove the control block cover (3).
Remove the seal (4).
Installing the control block cover
Insert the new seal (4).
The seal must be free of grease when you install it.
Screw the control block cover (3) tight using 20 hexagon bolts M8 x 30 - 8.8 (1) and washers B 8.4 (2).
Tightening torque 23 Nm.
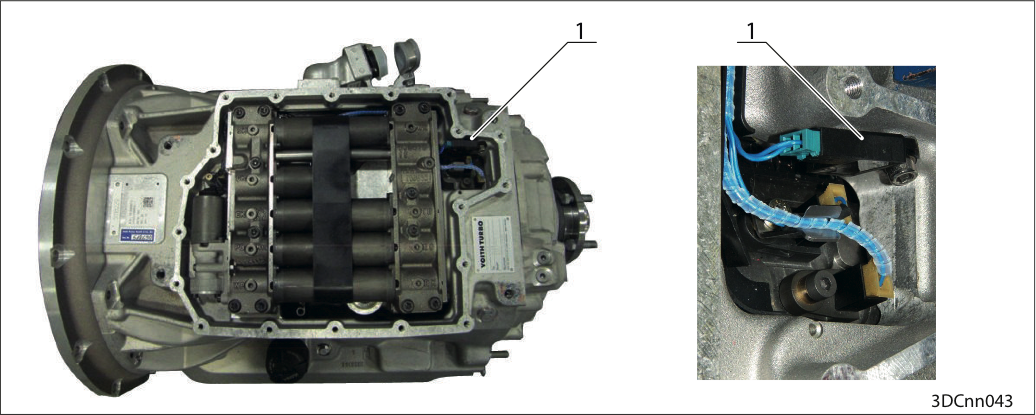
Position IM DIWA.6 (1)
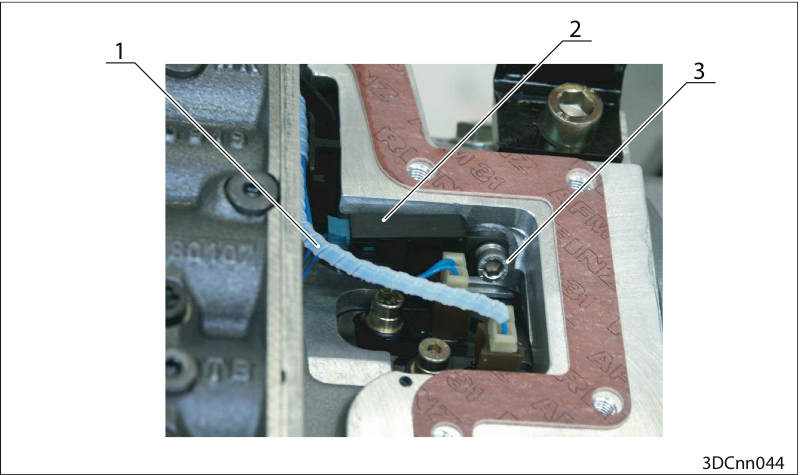
Position IM DIWA.5 (2)
Remove the control block cover
Pull the cable (1).
Loosen the hexagon socket head bolt (3).
Remove the IM (2) from the transmission housing.
Reinstall the IM in reverse order.
Torque 14 Nm (for M6 screw)